Freitag, 7. Juni 2013

My new LaserCutter (technical details)

A lot of people asked me about additional information about my laser cutter project.


The Laser Driver, is based on the A 1 MHz Analog Laser Modulator Based On LM317 Regulator. I planned to build a Laser PCB Exposer like this one. But after some calculations I was not longer convinced that it would provide satisfying results in resolution and usability. I canceled the project and the laser with driver was unused for more than a year.

However, the driver has some serious disadvantages for this use case.
First of all, if the Atmega (Arduino) is booting up, all pins are high-Z - this is enough to power the laser, not on full current but it is damned bright. I highly recommend to build another driver from Sam's page. The analog modulation is not necessary, neither is the switching time.

Secondly, a current monitoring by the Arduino would be nice maybe even current controlling. I think this is worth to invest some time in.

Thirdly, no emergency switch-off or at least a second enable pin.

The Laser itself is a 445nm Diode I've purchased for about 50€. It was labeled 1000mW, but I don't believe it will run this long on that power output.

Now to the mechanical part. I don't feel comfortable by releasing the complete design because I'm not happy with it. It was very quickly done and has a lot of disadvantages. The worst part is the swinging of the Y-axis.

I think, a possible solution is a second belt, but this increases the cost and complexity of the device.
The belts are just fixed with cable ties and some other nasty hacks. If you really want the design, email me and I will send you the files.

I used Skeinforge to generate the G-Code.

I added a M103 to turn off the laser and a M101 for turning it on. So you have to add these two commands in the Commands.cpp file of the firmware:


      case 101: // M101 Laser ON
        wait_until_end_of_move();
        digitalWrite(5, HIGH);

        codenum = 100;        // Wait vor 100ms for the Laser to burn though the material.
        codenum += millis();  // keep track of when we started waiting
        while((unsigned long)(codenum-millis())  < 2000000000 ){
            gcode_read_serial();
            check_periodical();
          }
 break;

      case 103: // M103 Laser OFF
 wait_until_end_of_move();
 digitalWrite(5, LOW);
        break;

I hope some of you found parts of this entry useful.


Donnerstag, 25. April 2013

I needed new T-Shirts - or: How I got a Laser-cutter.


Last week, spring finally arrived in Germany and I realized I need new t-shirts. The new Iron Man film is only days away, so it's time to upgrade the Arc. Short thought, I could make them like I did last year.
Ain't nobody got time for that.
And cutting the stencil by hand sucks! So a quick look in the "junk" boxes where I collect all the electronic parts I used or bought for my projects - yeah I have everything to build a Laser-cutter!!!!! A 1 Watts blue laser diode will be enough to cut through a thin plastic sheet, that's all I need. Everything else is routine. Designing a simple XY-Stage took only one evening, printing the parts took another.


The funniest part, the assembly, unfortunately took only half a day.
As controller an old Gen6 RepRap motherboard will do the job. I used it for my first 3D-Printer but without heated bead and fan support it got replaced by a Ramps1.4 on the second one. Some little adjustments to the firmware (Repetier FW) and the first results are very promising:


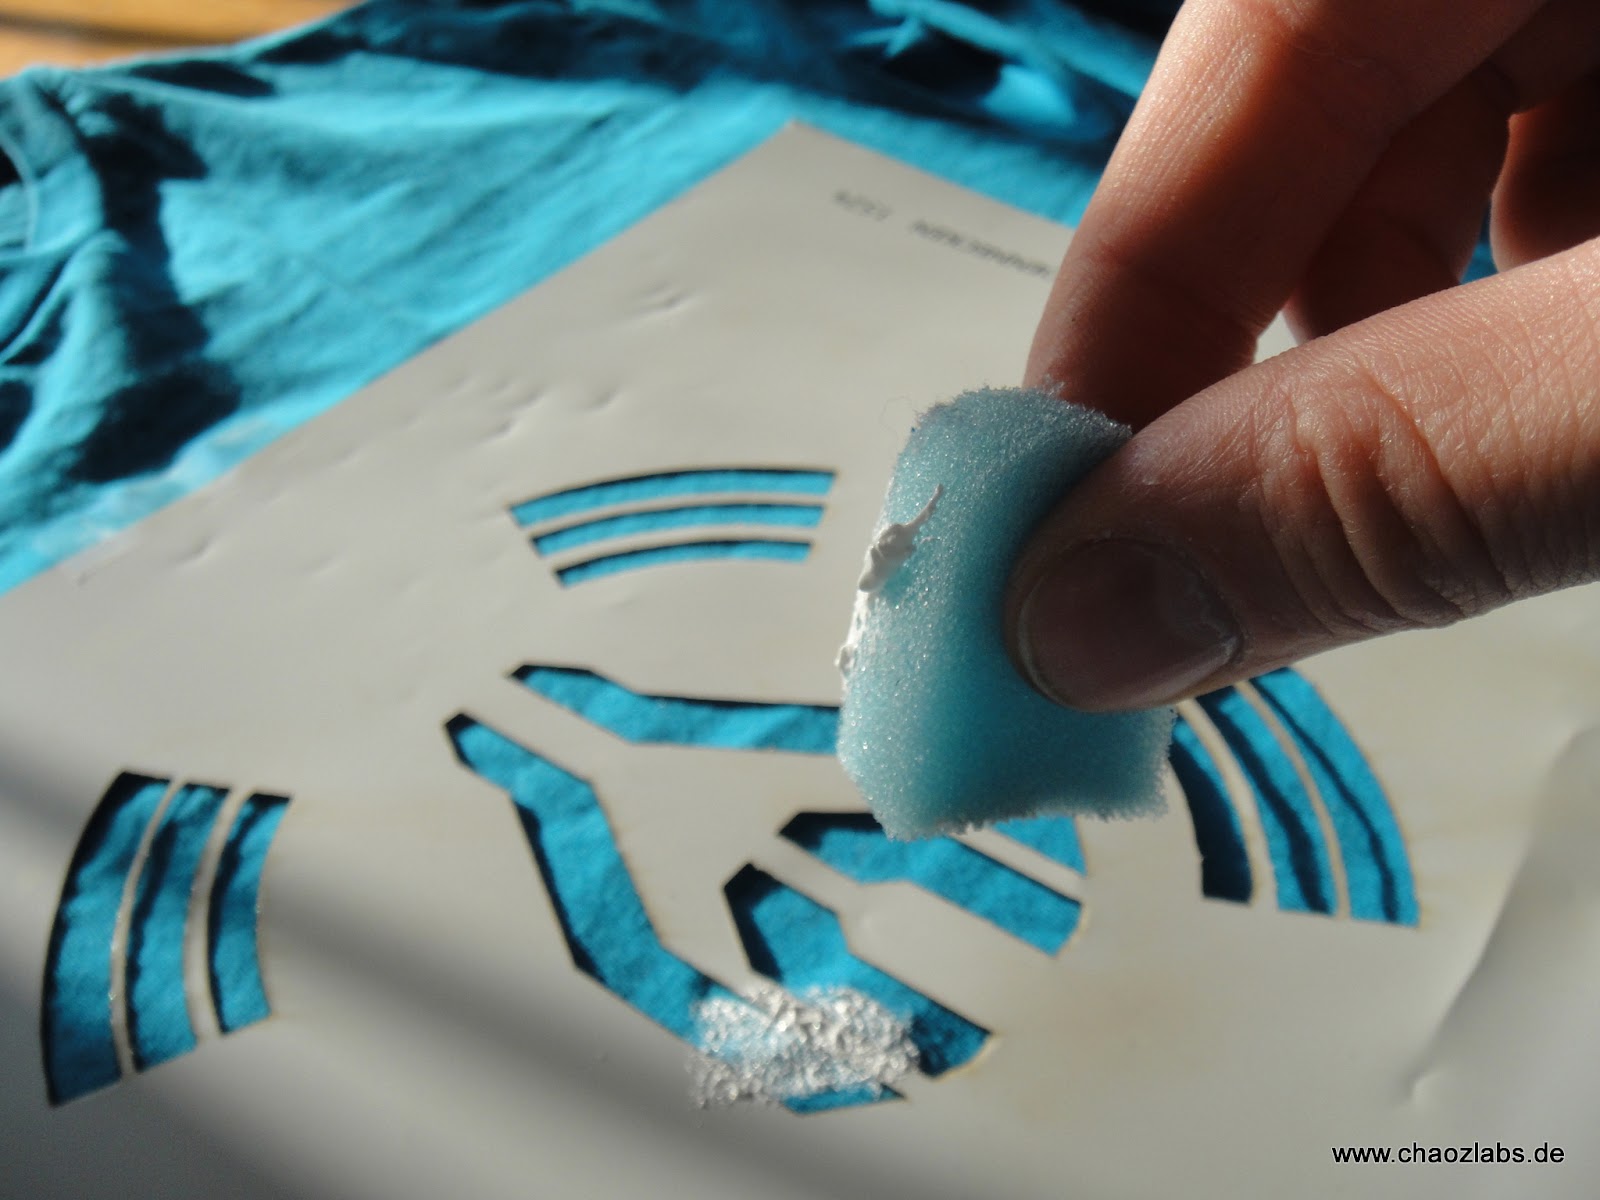
Finding good cheap materials to make the stencils of was a little difficult. After some failures I found the perfect one:

I think I have thousands of this older dividers, most of them are not longer in use. But they do have exactly the right thickness and my laser is able to cut them.


Here we go, as I say BURN!
Making the t-shirts was a matter of minutes.


The Logo on the blue shirt is the Mayday emblem, a large German EDM party taking place this weekend. Nice timing!!! 
Overall I'm very happy with the results:


The Laser-cutter is a solid base for future improvements. 

Some words to the stage: it needs some improvement, first of all a z-axis. This makes adjustments much easier.
Secondly, I will make a drawer where I can put the cutting material and slide it inside, so I don't have to open the hole case. 
Thirdly, the x-axis swings a little bit too much, I will add a threaded rod to make it less flexible. 

If this modifications are successful I will upload the *.stl files an schematics here.

I'm closing this with a nice picture of the beam taken by the webcam I used for beam monitoring. Lasers look awesome:


Update:
I've updated the model a little bit: 


Sonntag, 14. April 2013

Erste Drucke mit dem neuen Drucker

So langsam wirds:

Rot/Schwarz (PLA) und Blau/Weiß (ABS)
Ganz zufrieden bin ich aber noch nicht mit dem Ergebnis. Jetzt heißt es erst mal ein Gefühl für die Maschine zu entwickeln

Mittwoch, 27. März 2013

Alu Eloxieren

Wollte ich schon immer mal ausprobieren, jetzt hat sich die Gelegenheit ergeben. Als Grundlage dient dieses Starterkit. Eine genau Anleitung gibts dort.
Vorher:

 Nachher, beim ersten versuch ist das Rot etwas dunkel geworden:


Mehr Bilder nach dem Break:

Sonntag, 10. März 2013

Weberknecht (Baubericht)

Und so beginnt es:
Aluprofile und Normteile

Den Anfang macht das Bodenblech. Ich muss den Drucker Stück für Stück von unten nach oben zusammen bauen sonst passen die Teile nicht ineinander.
Das Bodenblech, 0,8mm Alu, eigentlich nur damit das Gehäuse "dicht" ist, sieht aber gut aus und passt:


Da mir die M4 Hammernuten mit >0,30€ pro Stück zu teuer sind verwende ich nur M4 Vierkantmuttern, die kosten einen Cent, nachteil ist ich brauche Halter. sonst wackelt die mutter hin und her und man kann sie nicht anziehen. Die werden dann in das Alu Profil geschoben, klappt gut, aber muss muss sich vorher genau überlegen was wo hinkommt nachträglich bekommt man die nicht mehr rein, falls was fehlt müssen dann doch die Hammernuten herhalten.


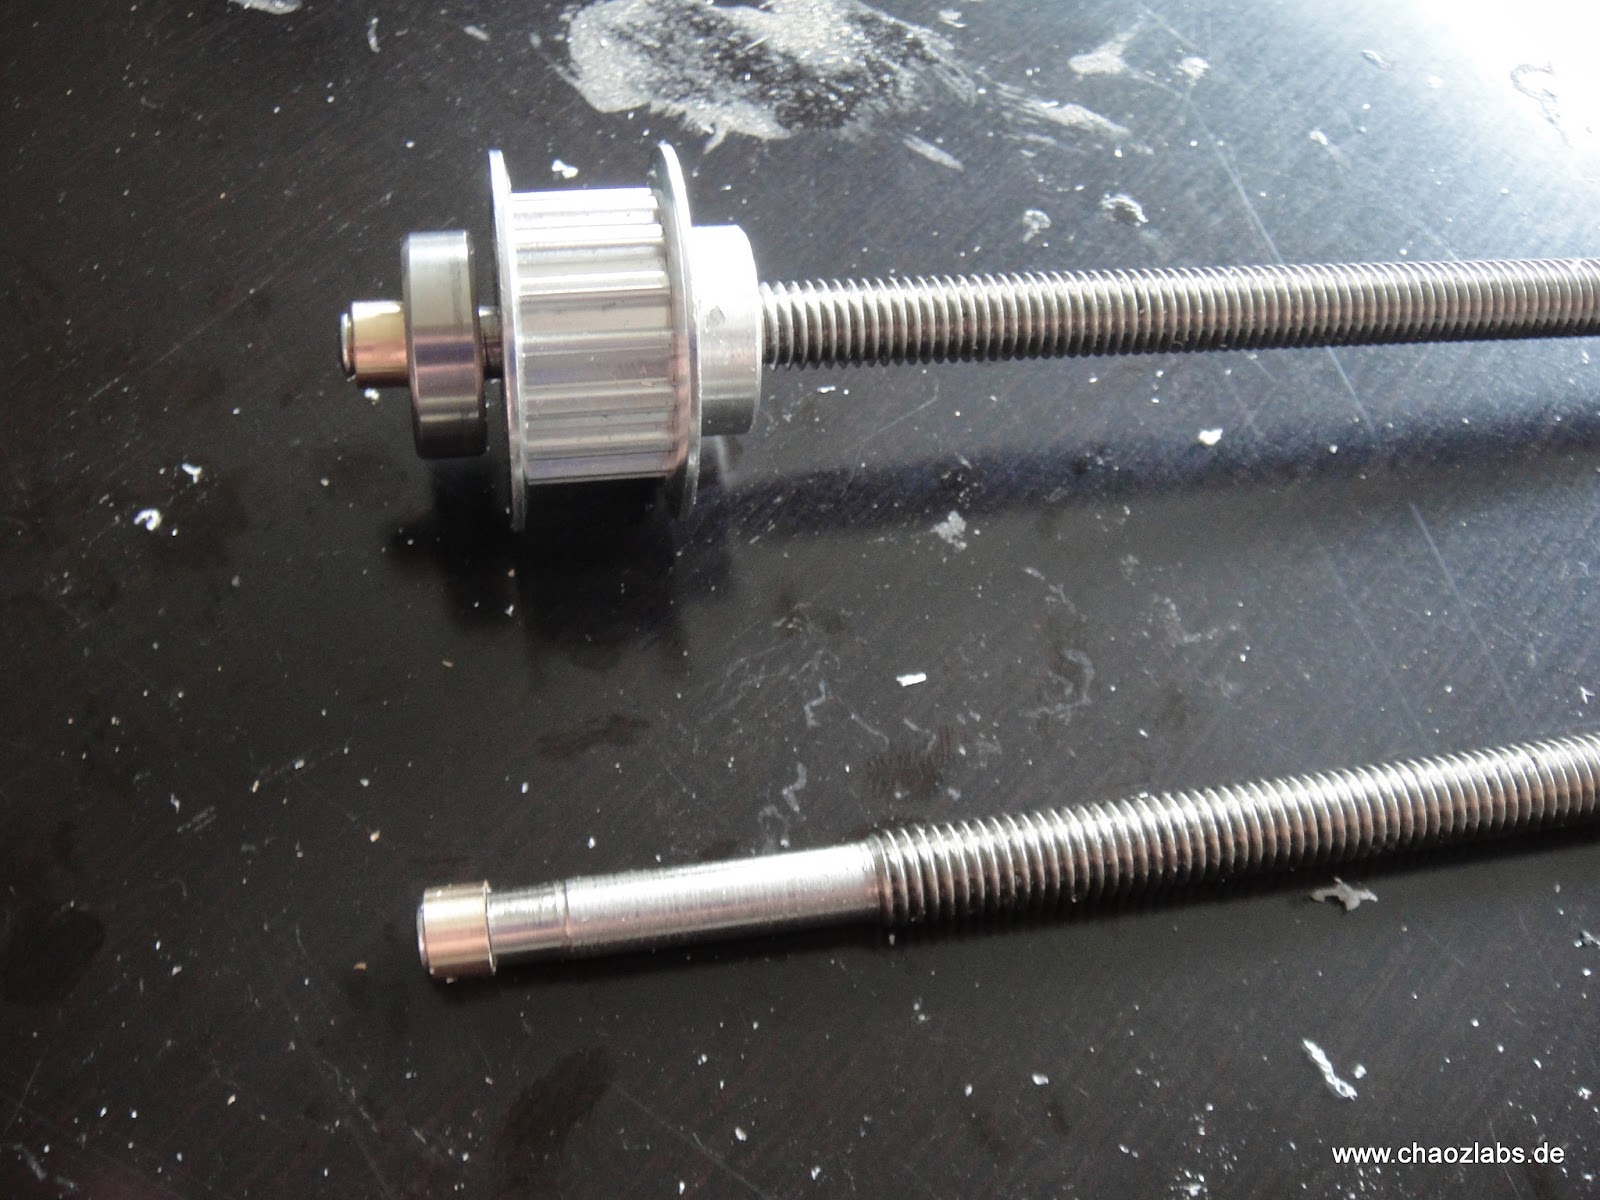
Das Drehen der Z-Achsen war etwas wo ich mir nicht sicher war ob die kleine Drehmaschine das packt. Ging aber besser als gedacht:


Alles mal mehr schlecht als recht zusammen gesteckt und siehe da man erkennt wo die Reise hingeht:

Jetzt ist erst mal Teile drucken angesagt...